
Poor closet lighting transforms daily routines into frustrating treasure hunts, leaving busy professionals fumbling through shadows while searching for the right outfit or important items.
Proper LED lighting transforms any closet into an organized, functional space where everything is clearly visible and easily accessible.
This comprehensive guide walks you through every step of DIY closet LED lighting installation, from planning and preparation to final testing and troubleshooting.
✓ Expert electrical work and code compliance
✓ Integrated with custom storage systems
✓ Professional-grade LED fixtures and controls
Why Proper Closet Lighting Matters More Than You Think
Quality lighting in your closet isn’t just about convenience—it directly impacts your daily efficiency, clothing care, and overall home organization experience.
Poor lighting leads to color matching mistakes, damaged clothing from rough handling in dark spaces, and wasted time searching for items you know are there but simply can’t see clearly.
LED lighting offers the perfect solution: bright, energy-efficient illumination that closely mimics natural daylight, helping you make better clothing choices while extending the life of your garments through reduced handling.
Planning Your Closet Lighting Project
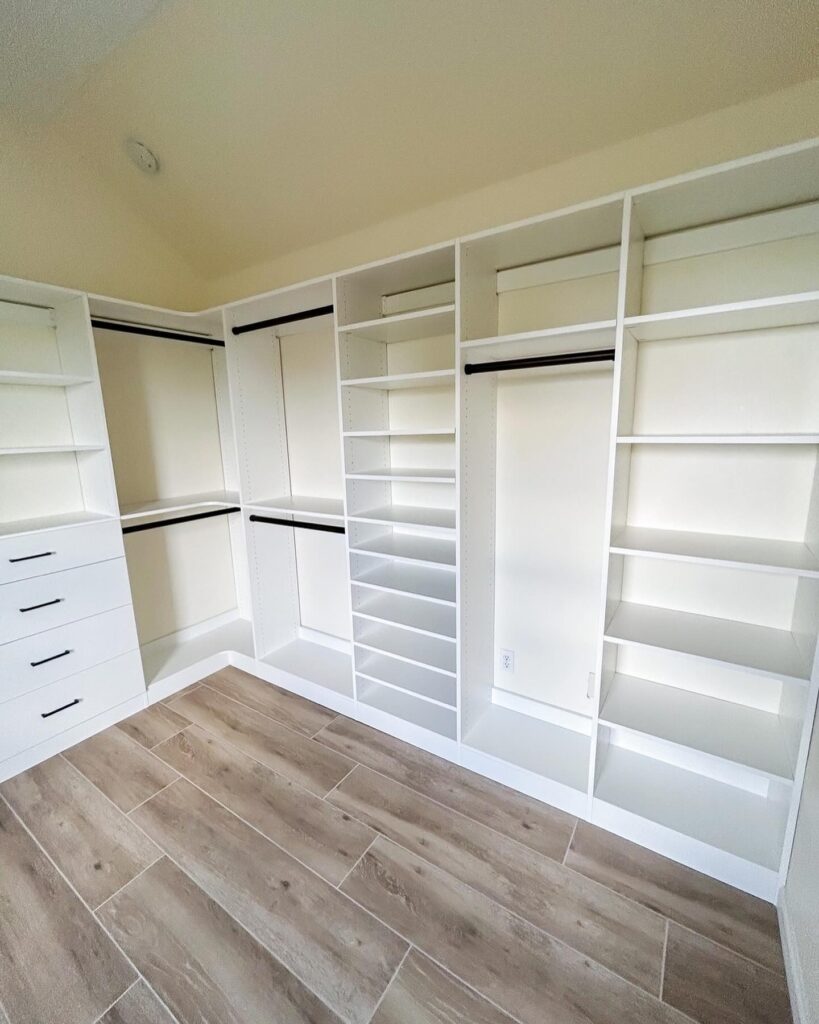
Start by assessing your current closet layout and identifying the specific areas that need illumination.
Map out hanging areas, shelving sections, and any dark corners where shadows typically accumulate during normal use.
Consider your daily routines: Do you primarily use the closet during morning rush hours when natural light is limited?
Document these observations as they’ll guide your lighting placement decisions and help determine the brightness levels you’ll need.
Measure your closet dimensions carefully, noting the ceiling height, shelf depths, and hanging bar positions.
These measurements determine the type and quantity of LED fixtures you’ll need, as well as the optimal placement for even light distribution.
Essential Tools and Materials You’ll Need
Successful LED installation requires the right tools and quality materials to ensure both safety and long-term performance.
Basic Tools Required
• Voltage tester/multimeter
• Wire strippers and connectors
• Drill with bits
• Screwdrivers (Phillips and flathead)
• Wire nuts and electrical tape
• Measuring tape and level
LED Components
• LED strip lights (appropriate length)
• LED fixtures or puck lights
• Power supply/transformer
• Dimmer switch (optional)
• Mounting clips and brackets
• Extension cables if needed
Choose LED strips with color temperatures between 3000K-4000K for the most natural-looking light that accurately represents clothing colors.
Avoid cool white LEDs (5000K+) as they can make clothing appear washed out and create an unwelcoming atmosphere in your personal space.
Wiring and Electrical Safety Basics
Before beginning any electrical work, turn off power at the circuit breaker and verify with a voltage tester.
Electrical safety cannot be compromised—even low-voltage LED systems require proper handling to prevent fires or electrocution.
Plan your wire routing carefully, considering how cables will run through walls, along ceiling joists, or behind shelving systems.
Most closet LED installations connect to existing light switches, but may require additional circuits for optimal performance.
Understanding your home’s electrical system is crucial for safe installation.
Check your electrical panel to identify the appropriate circuit and confirm it can handle the additional LED load without overloading.
New Jersey electrical codes require GFCI protection in certain areas, and LED installations must meet specific standards for residential safety.
Step-by-Step LED Installation Process
Begin installation by marking exact placement locations for each LED fixture or strip segment.
Use a level to ensure straight lines and consistent spacing between fixtures for professional-looking results.
Install mounting clips or brackets first, testing their stability before proceeding with LED placement.
Run low-voltage wiring through planned routes, securing cables to prevent interference with daily closet use.
Connect LED strips to power supplies following manufacturer specifications exactly—incorrect connections can damage components or create safety hazards.
Test each connection before final installation to avoid troubleshooting issues later when fixtures are permanently mounted.
Install dimmer switches if desired, ensuring compatibility with your chosen LED system for smooth operation.
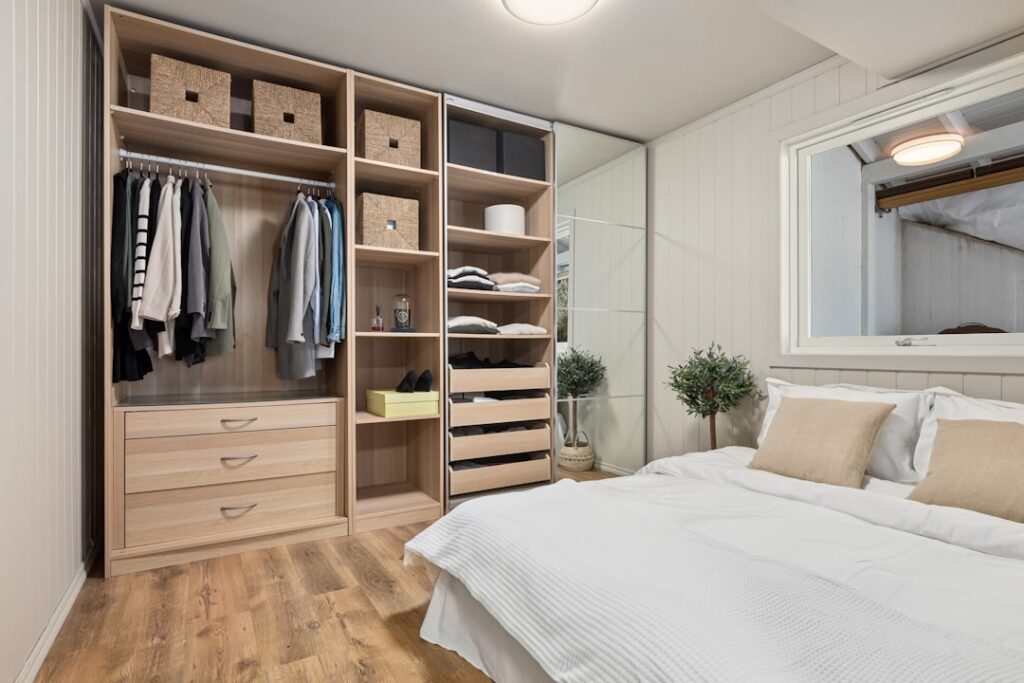
LED Strip Placement Strategy
Position LED strips along the front edges of shelves to minimize shadows and provide even illumination across hanging areas.
Avoid placing lights directly above hanging bars where clothing will block the light—instead, install strips on side walls or shelf undersides.
Consider accent lighting behind translucent storage boxes or in display areas to create visual interest while maintaining functionality.
Mounting LED Strips and Fixtures

Secure mounting requires appropriate fasteners for your closet’s construction materials.
Drywall installations need toggle bolts or find studs for maximum stability, especially with heavier fixture types.
Wood surfaces offer more mounting options but require pilot holes to prevent splitting or cracking during installation.
Clean all mounting surfaces thoroughly before applying adhesive-backed LED strips to ensure maximum adhesion and longevity.
Professional-grade mounting hardware provides superior durability compared to standard adhesive strips that may fail over time.
Plan for expansion joints in long LED runs to accommodate seasonal temperature changes that can affect strip performance.
Route wiring through designated channels or conduits to maintain clean appearance and protect connections from damage.
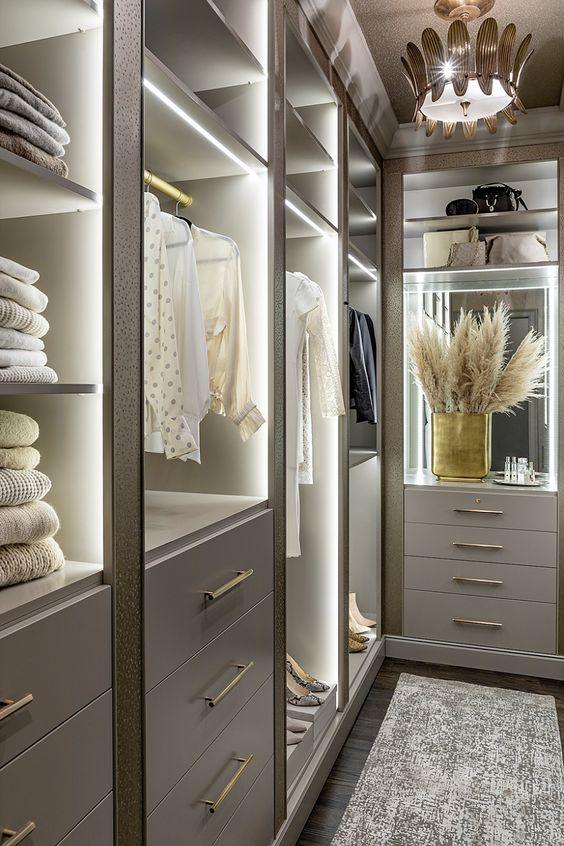
Professional Lighting Examples Showcase
Professional LED lighting installations demonstrate the dramatic difference quality design and expert installation can make in closet functionality and aesthetics.
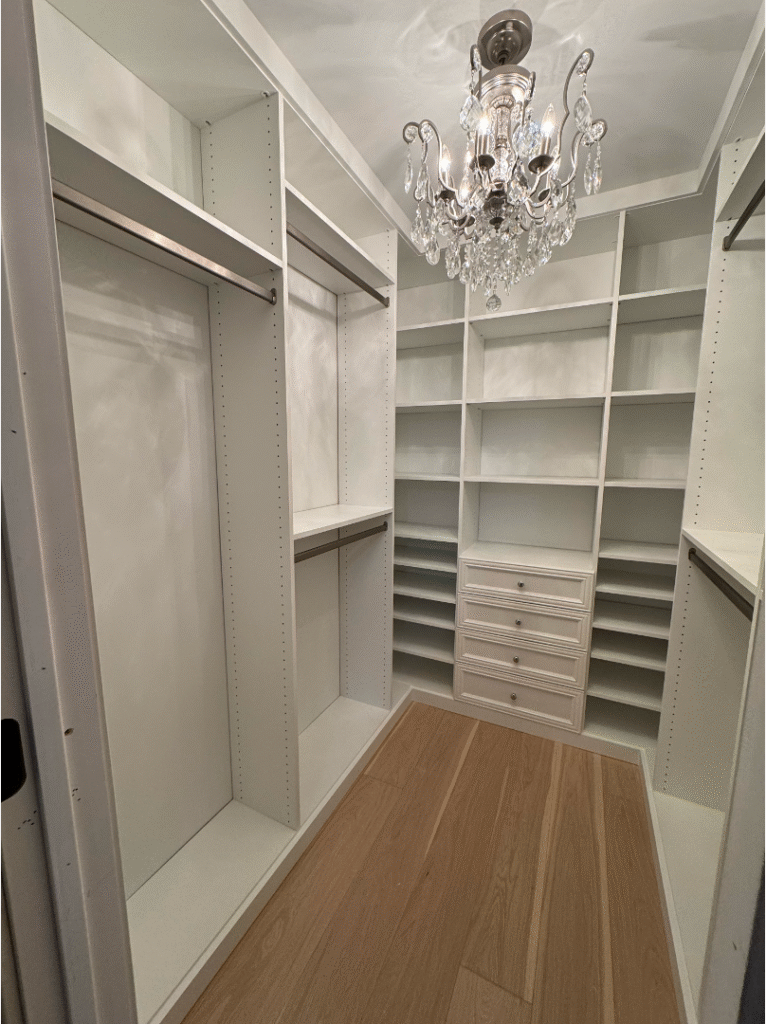
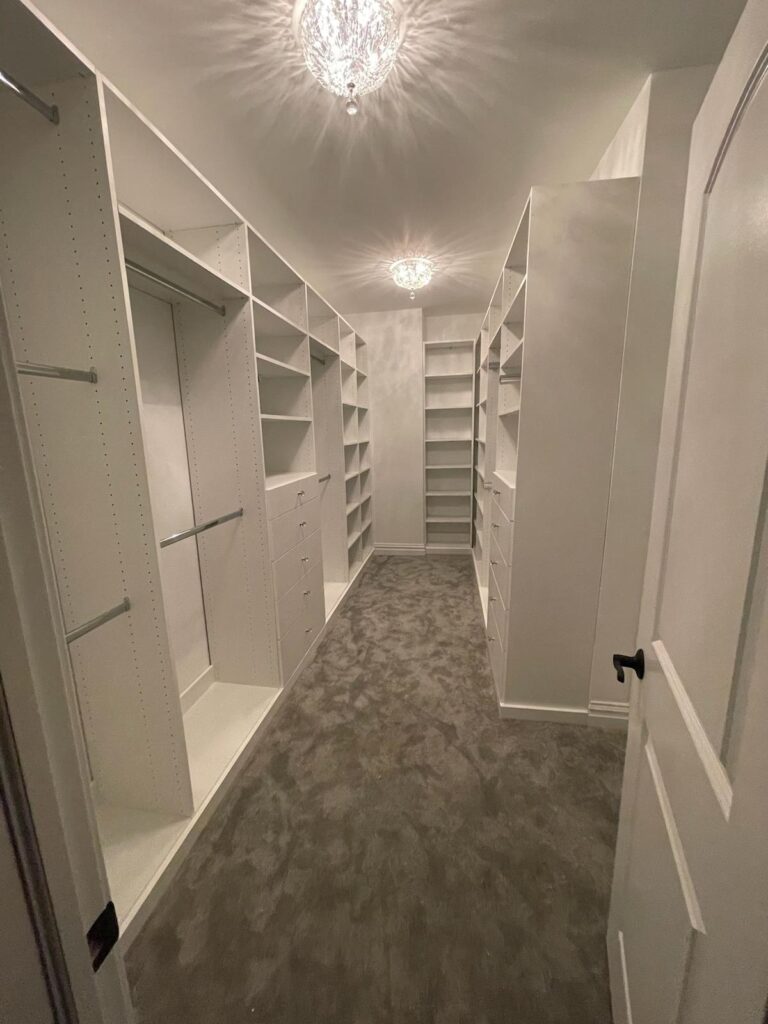
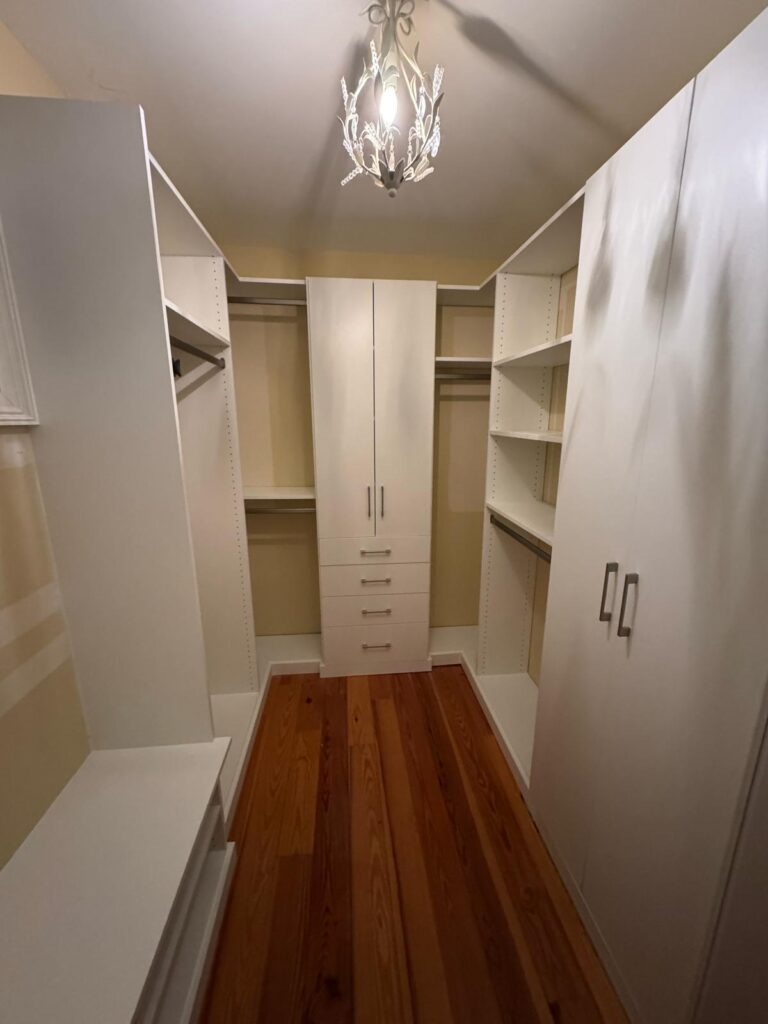
These professional installations integrate lighting seamlessly with custom storage systems, creating cohesive designs that enhance both functionality and visual appeal.
Notice how professional lighting design considers multiple illumination sources, shadow elimination, and aesthetic integration with architectural elements.
Common Installation Mistakes to Avoid
Even experienced DIYers make critical errors that compromise safety, functionality, or longevity of LED lighting systems.
Power Supply Errors
• Undersized transformers cause dimming
• Overloading circuits creates fire hazards
• Wrong voltage damages LED components
• Poor connections cause flickering
• Missing GFCI protection violates codes
Placement Problems
• Creating shadows instead of eliminating them
• Uneven spacing looks unprofessional
• Inadequate mounting leads to failures
• Poor wire management creates hazards
• Ignoring heat buildup reduces LED life
Temperature considerations often get overlooked—LEDs generate heat that must dissipate properly to maintain performance and prevent premature failure.
Many DIY installations fail within the first year due to inadequate power calculations or poor connection quality that causes voltage drops and component damage.
Troubleshooting Common Issues
Flickering LEDs usually indicate loose connections, incompatible dimmers, or power supply problems that require immediate attention.
Uneven brightness across LED strips suggests voltage drop issues—often solved by using multiple power injection points for longer runs.
Color temperature variations between fixtures create an unprofessional appearance and may indicate mixing different LED types or manufacturers.
Why Professional Installation Often Makes More Sense
While DIY installation seems cost-effective initially, professional installation often provides superior long-term value.
Professional electricians understand New Jersey building codes, permit requirements, and safety standards that DIY installations often overlook.
At Coastal Closets, our LED lighting integration goes beyond simple fixture installation to create comprehensive lighting designs that enhance your entire storage system.
Professional installation includes warranty coverage, code compliance, and expert design that maximizes both functionality and aesthetic appeal.
Our vetted contractors integrate lighting with custom storage solutions during the design phase, ensuring optimal placement and performance that DIY installations rarely achieve.
Professional design considers future storage needs, maintenance access, and energy efficiency optimization that extends system life and reduces operating costs.
The time investment for quality DIY installation often exceeds 15-20 hours including planning, shopping, installation, and troubleshooting—time that busy professionals value highly.
Coastal Closets’ Integrated Lighting Approach
Our 7-step design process includes comprehensive lighting analysis that considers your daily routines, storage preferences, and aesthetic goals.
We specify commercial-grade LED components that provide consistent color temperature, extended lifespan, and dimming compatibility for personalized ambiance control.
Professional installation ensures proper electrical connections, code compliance, and seamless integration with custom storage components for a cohesive final result.
Ready to Transform Your Closet with Perfect Lighting?
Whether you choose DIY installation or professional design and installation, proper LED lighting dramatically improves closet functionality and daily convenience.
For busy New Jersey professionals who value their time and want guaranteed results, professional installation provides superior value through expert design, quality components, and comprehensive warranty coverage.
Contact Coastal Closets to discover how integrated LED lighting can transform your storage space into an organized, beautifully illuminated sanctuary that simplifies your daily routines.
Request Your Free Closet Lighting Consultation
Discover how professional LED lighting integration can transform your closet into a beautifully illuminated, highly functional space. Our design experts will assess your current setup and create a custom lighting plan that perfectly complements your storage needs.